It’s a pretty nasty day today – cold, wet and windy. A day just perfect for crafting.
Easter is still a bit away but I thought I get ahead and create some Easter cards. Yes, I am the person who still sends Easter Cards (I also still send birthday cards – what can I say… I am old-fashioned). These cards are easy to create in minutes. I make each one individual so each one is slightly different but you can also go into ‘mass production’ by doping one step on all cards before moving on the next etc.
I used A6 cardstock – that is A5 folded in half. Decide if you want to have vertical or horizontal cards and off you go. Most material is available from Vibes & Scribes, Cork Art Supply, Mr Price and The Range.
Last summer, I collected and dried a lot of blossoms and greenery from my garden. The original plan was to create some art to hang on the wall but then I got the idea of making bookmarks (the main reason was that my wonderful husband has the bad habit of folding pages in a book to mark the page or to lie the books opened upside down which can weaken the spine quite a bit – he needed a bookmark). Another reason was to send a little gift to friends to cheer them up in the midst of lockdown (it is February 2021).
I love the result and added little notes with quotes on reading. I used cotton fibre paper that had little grass pieces in it. I tried silk paper first but the paper was too thin and the result was rather wobbly. This is best made with a laminating machine but when that’s not possible, you can also use clear package tape. Just cut the paper slightly smaller than the tape and you are good to go. I prefer the laminating method as it’s less messy. Just be careful, the pouches can be quote static and your little blossoms can fly off. I ran the bookmarks 3 x through the laminating machine to ensure that no air bubbles formed. When cutting the bookmarks, make sure not to cut into the seal – leave a little edge around the entire bookmark.
I added eyelets for the ribbon. That is not strictly necessary but I thought it completed the look and matched the eyelet to the ribbon used. The eyelet also strengthens the bookmark from wear and tear.
Hope you enjoy the little video and keep an eye out for more to come.
I used to have a little sewing box where I had a pincushion, scissors etc to hand when needed. Time took its toll and I ended up with a drawer of bits and bobs including the pins and needles.
Growing a bit tired of searching for pins, I decided that I needed a pincushion that also holds a scissor etc that looks pretty enough to sit next to the couch in the living room.
As we are still in lockdown (Covid19 for future readers), I had a look through my stash of odd things and found a really pretty photo frame that I must have either bought ages ago or was given as a present (memory is blank on this one). My fabric stash could be the envy of every haberdashery shop so I had no problems putting this frame together. It didn’t even take 30 minutes…. and I think the result looks pretty good.
Lines are not straight (was the first time I used a decorative stitch) but that makes it unique. A little tip, I added the button and butterfly after I already assembled the frame – attach anything you like to add before securing it together. The stuffing was wadding I had leftover from a quilt I made and it worked a treat. No money spent (apart from purchasing everything in the past but that doesn’t count, does it?), assembled quickly and ended up with a pretty frame that looks great in the living room (matches the colour theme in my case).
Enjoy xx
The frame came from Dunnes Stores, the fabric was a special buy from Aldi (part of a fat quarter pack and absolutely no idea where I got the button and butterfly from (a big jar on the shelf).
I always look for craft ideas for Miss Sophie and Little Miss Holly – I think they both will love these paper flowers. They are perfect for little hands (they might need help with the cutting and definitely with the pricking of the paper) as they can let their imagination run wild again.
I have used paint testers from the DIY store but you can use watercolours or even markers. You don’t have to be particularly careful to mix the colours as you might get some great effects by painting over already applies colours.
With these flowers, there is no right or wrong – just enjoy making them. They are useful to spruce up some boring plain gift bags or string them up as a garland. Making them bigger will create some stunning decoration for your next party… all materials are widely available. Instead of buttons, you could use any embellishment.
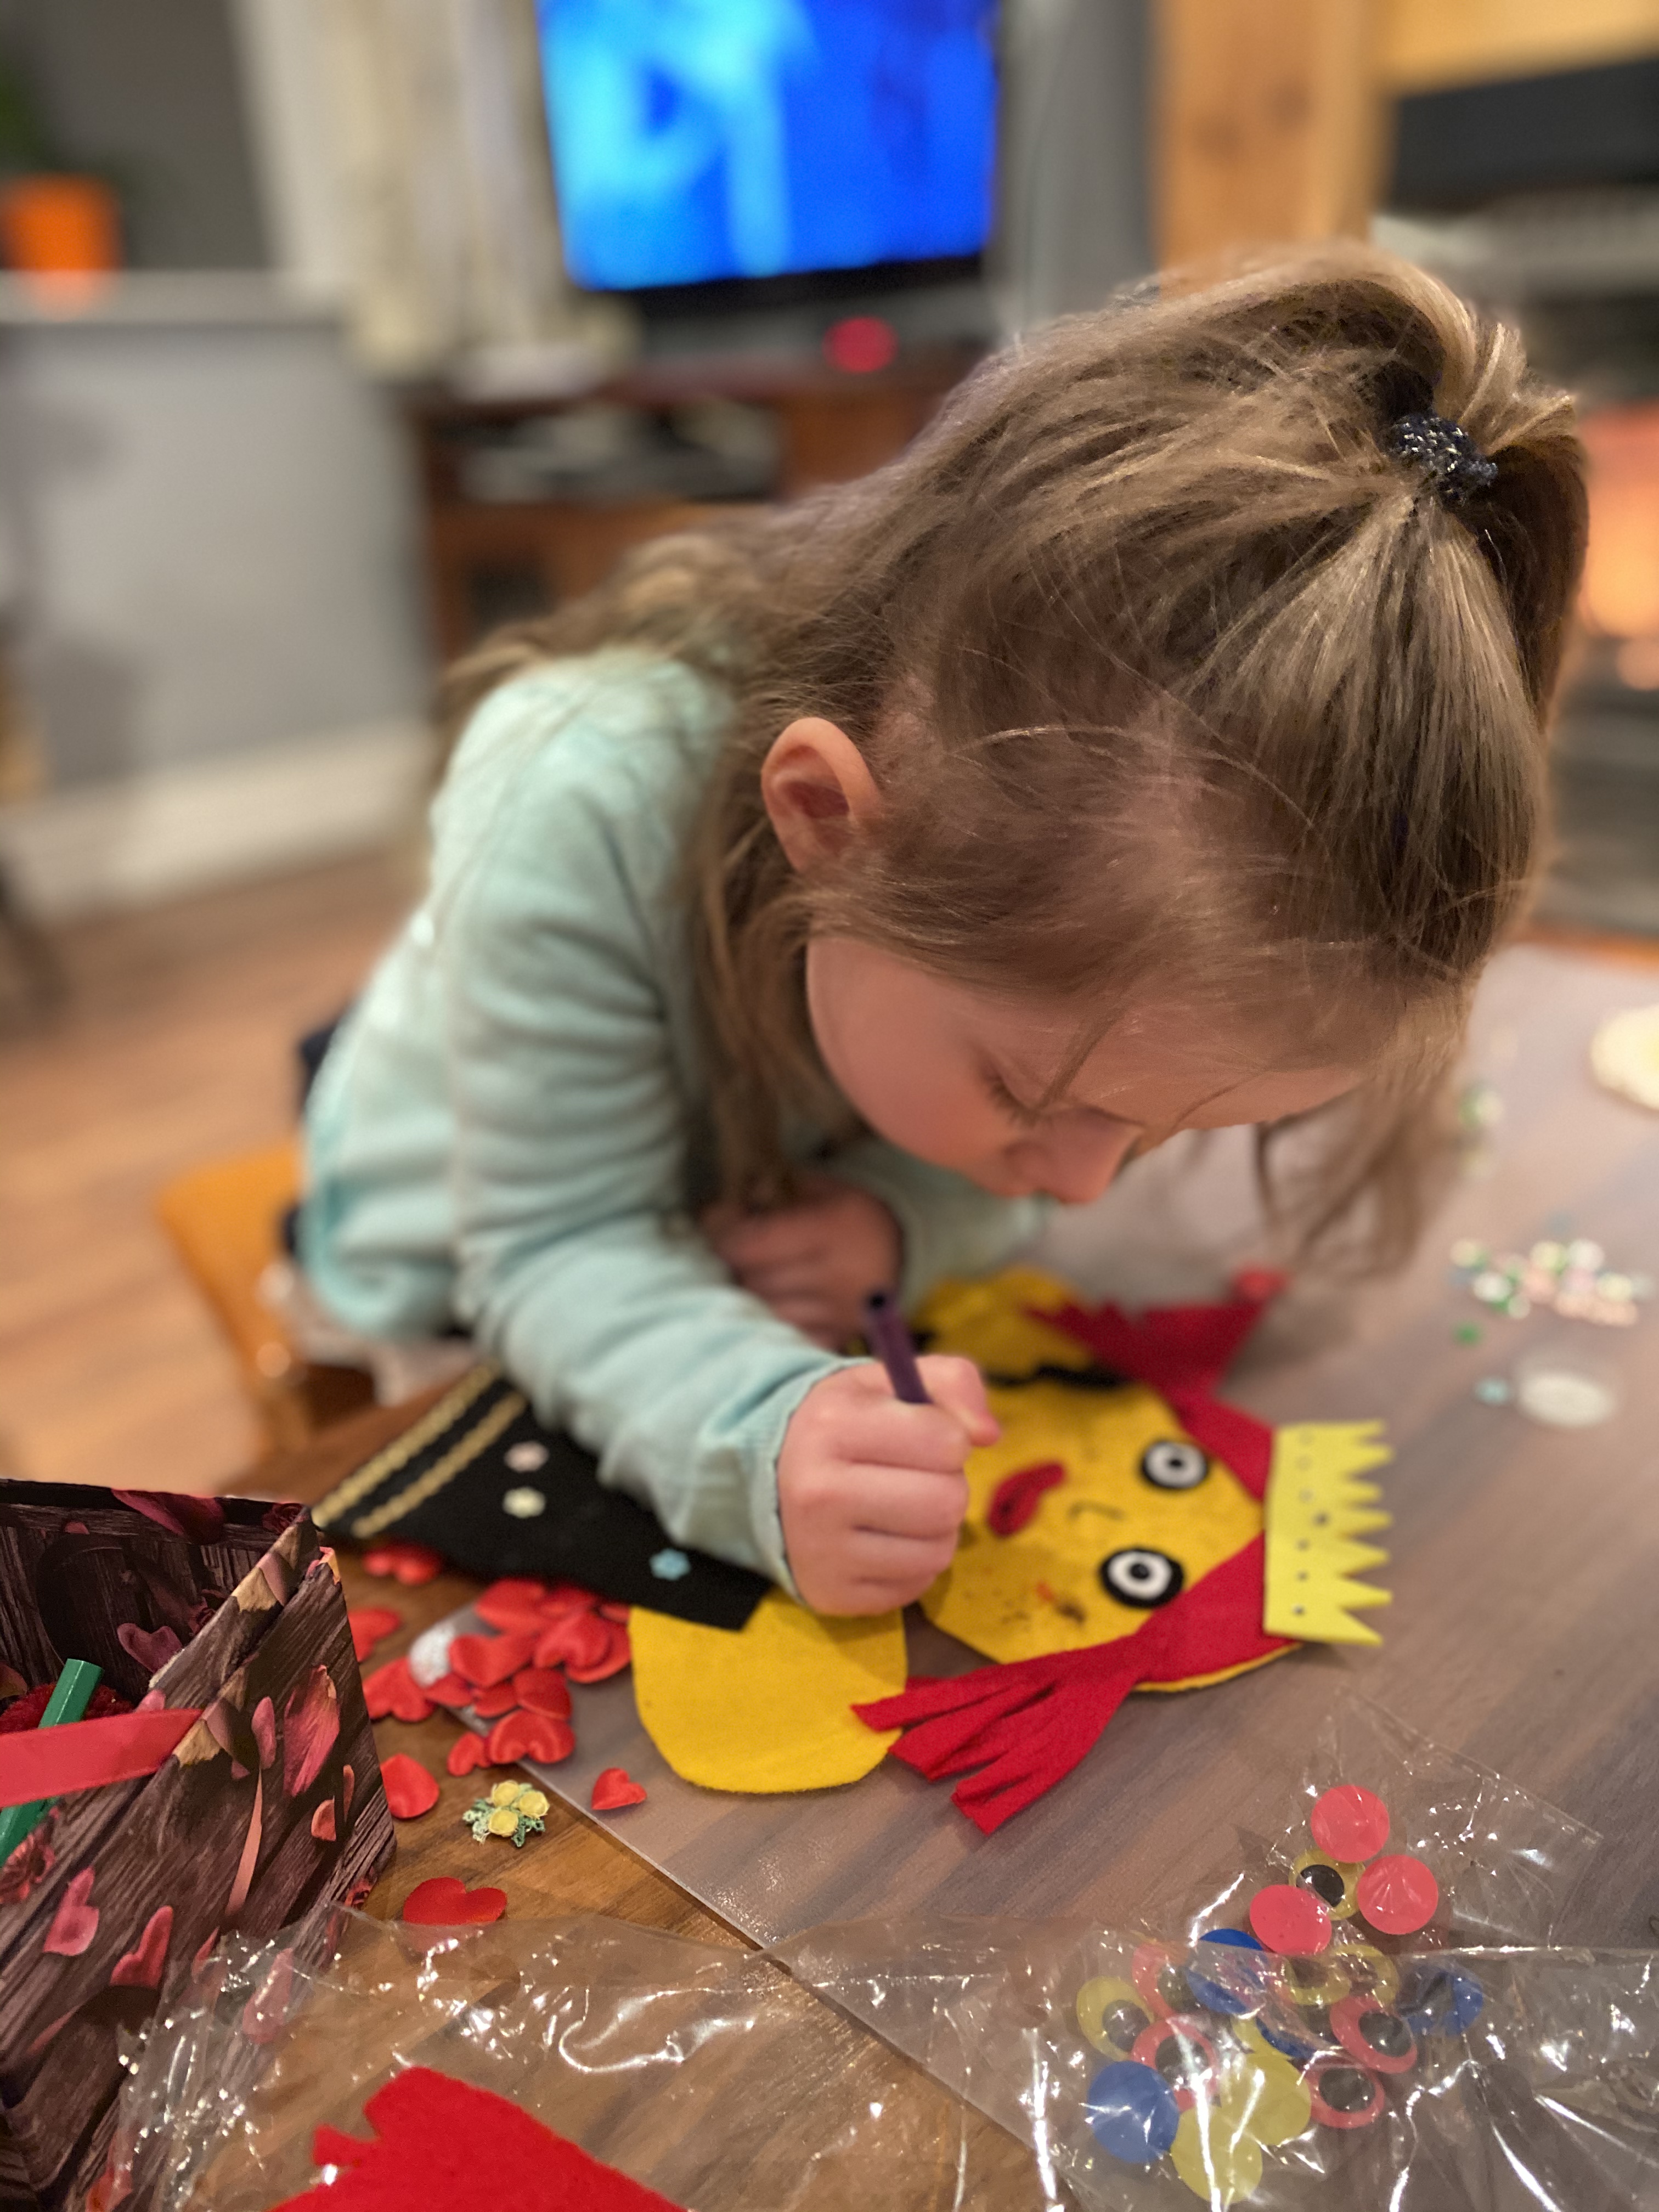
It has been a few weeks now that Miss Sophie and Little Miss Holly have been over to ours due to the Coronavirus. Both love my craft room and always have great ideas on what to do next. So, the last time they came, we started making hand puppets. It entertained both for hours and it was great to see how they are not afraid of using colours, gems and anything glittery – the more the better.
These puppets are easy to make, inexpensive and super fun and best of all, you don’t really need sewing experience as most decorations can be glued on. You only need to sew the two halves together. All materials are widely available and I found the template for the puppet online. Print it out in the size you want and of you go.
I asked Miss Sophie to come up with a play and next time we are able to have them over again, she and her sister will play it for us.
With the whole country in lockdown, time is more than available. Thank god for a fully stocked craft room. As Easter is nearing, I had a look through my stash and found a box of plastic eggs I bought last year from Vibes & Scribes (I think they were €5) and beautiful paper napkins with rose motives, perfect for decoupage (I can’t draw to save my life).
I had a few paint testers from Woodies in pretty pink and light green as well as some little red gem hearts. I painted a few but left others white – both worked fine. I think they look beautiful either way.
Spring is in the air and the first daffodils are showing their beautiful yellow heads. Don’t you just love how everything comes to life? With Easter only two weeks away and us being locked away due to the terrible Coronavirus, I thought I use the time to create some nice decorations.
I didn’t buy anything for it as I had everything already at home but you will find everything you need in Vibes & Scribes here in Cork as well as Mr Price and The Range. I am not sure where I got the paper strip booklet as I had it for years. It had a lovely shimmer to it which worked perfectly with the sequins and beads. For the pins, you need to make sure that they are long enough to go through the layers and into the styrofoam egg and needs a head that is bigger than the bead opening to hold everything together.
My lovely friend Agnes went to the beach a few weeks ago (when the weather was still lovely) and collected loads of seashells. Being the awesome friend she is, she brought me a bag full of them – some still attached to both halves.
Saying I was excited is an understatement. I am in the process of creating a little oasis in the back of the house for myself (with lots of help from my amazing husband) and was looking to add a little DIY to the fence above my little herb bed.
A seashell wreath was just the perfect idea. I got the styrofoam ring from Vibes & Scribes for €1.75 – everything else I had already at home. I have a nice selection of paint samples (when Little Miss Sophie comes over, we do a lot of painting), old jewellery that I was thinking of throwing out and some beads from other projects and broken jewellery. And who hasn’t got a glue gun at home?
I love the result and it looks great on the fence (I just need to hang it a bit higher as my bunting is too high). Here is a little video of the project. Enjoy xx
Disclaimer: There are NO affiliate links in this post.
This year, I am trying to send birthday cards to friends rather than just sending texts. Modern technology has let us become quite impersonal with messages on Facebook and text messages.
I have four birthdays coming up next week and thought, why not make cards – I still have a lot of cardstock and stamps at home, so it didn’t cost me anything other than the stamps to post them.
This is a very simple design but can be customized to all colours. I am using butterflies as a motive but you can use flowers etc. if you don’t have a butterfly punch.
Inserts for the cards are also easy to make if you have a printer – the internet offers loads of sayings and as long as you don’t sell your creations but use them for personal use, you can use them.
I was looking into creating a gift for a lovely friend of mine. She is a very talented crafter herself, so I needed to come up with something she hadn’t done herself already.
Thanks God for Pinterest – I am actually addicted to it and keep collecting ideas for later. One of these ideas was crocheted snowflakes – just loved how filigree they were lookings. I had some mini baubles and a piece from an old artificial Christmas tree laying around so the idea of creating a decorative hanging was in my head.
I crocheted five different snowflakes I found on Pinterest (unfortunately, I am not creative enough to come up with my own designs) and needed to stiffen them. For that I purchased a bottle of fabric stiffener – I had never used it and wasn’t sure how it will turn out. The first batch of snowflakes turned out nice but I stretched them on a wooden board I had with nails I had in my ‘toolbox’. That wasn’t such a good idea as the timber stained the snowflakes where they touched the board after being sprayed with the stiffener and the nails left dirty marks on the tips. So the first batch wasn’t usual for what I had planned.
So, off I went crocheting five new snowflakes (the beauty of them is that each only has rows between 3-6 rows so you can do them quickly in an afternoon). This time I used a cork board covered in plastic and sewing pins. I pinned the snowflakes tight enough to keep them off the surface (just in case) and sprayed again with the stiffener. Left them to dry overnight and the result was stunning.
I hung the snowflakes on white yarn I used to crochet them on the piece of old Christmas tree and added mini pearl baubles to the mix. I love the look and getting ready to crochet more snowflakes for my own window – just use hooks with suction on your window and hang the snowflakes in different heights and hey presto, you have a stunning window decoration.
I used white as I had lovely cotton yarn in my collection of wool but you can use any colour really. I recommend using cotton yarn rather than wool to give you clean edges.
The Final Result
What I learnt:
Fabric Stiffener is quite wet so make sure you dab off the excess. PVA glue thinned with a bit of water does the same trick.
Leave the snowflakes at least overnight to ensure that they have dried properly
Pin opposite sites to ensure an even stretch
Using a spray – make sure you are not near anything as it sprays wide. My phone looked a bit funny after being misted.


 as on what to do next. So, the last time they came, we started making hand puppets. It entertained both for hours and it was great to see how they are not afraid of using colours, gems and anything glittery – the more the better.


 for €1.75 – everything else I had already at home. I have a nice selection of paint samples (when Little Miss Sophie comes over, we do a lot of painting), old jewellery that I was thinking of throwing out and some beads from other projects and broken jewellery. And who hasn’t got a glue gun at home?


 (unfortunately, I am not creative enough to come up with my own designs) and needed to stiffen them. For that I purchased a bottle of fabric stiffener – I had never used it and wasn’t sure how it will turn out. The first batch of snowflakes turned out nice but I stretched them on a wooden board I had with nails I had in my ‘toolbox’. That wasn’t such a good idea as the timber stained the snowflakes where they touched the board after being sprayed with the stiffener and the nails left dirty marks on the tips. So the first batch wasn’t usual for what I had planned.
 d sprayed again with the stiffener. Left them to dry overnight and the result was stunning.
